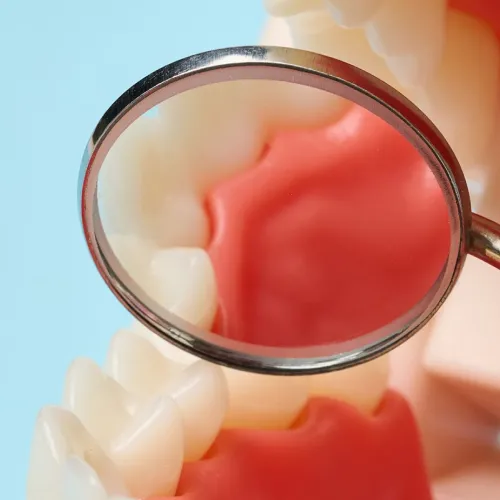
Best Mouthwash for Gum Disease: What Actually Works (and What Doesn't)
Looking for the best mouthwash for gum disease? Discover what works to fight gingivitis, top alcohol-free rinses, and expert picks. Read our full guide today!
Read More

Cosmetic Dentistry
A smile makeover can take anywhere from two weeks to eighteen months depending on which procedures are involved and whether preparatory treatments are needed first. Understanding the sequencing of treatments — and how your dentist's technology stack affects visit count — helps you plan realistically before committing.
Most people assume a smile makeover takes a few weeks. For Kissimmee-area patients, sometimes that's true. But the moment orthodontics, implants, or bone grafting enter the picture, the timeline multiplies dramatically — and the biology behind that is worth understanding.
Here's a useful way to think about it:
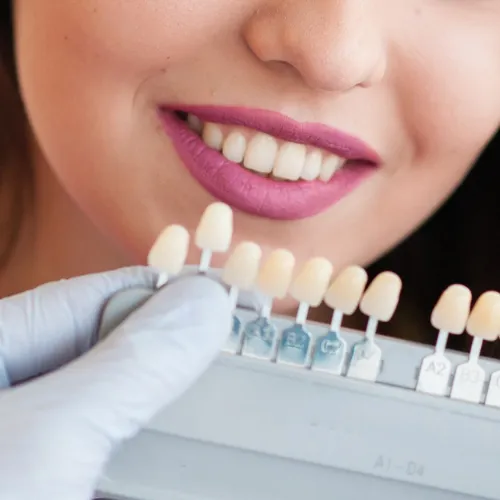
Restorative-Only Timeline (2–3 weeks) Teeth whitening followed by porcelain veneers on healthy, well-aligned teeth is the most straightforward path. Whitening takes one in-office session or two to four weeks with a custom tray at home, as WebMD explains. Veneer preparation, temporary placement, and final bonding add two to three additional appointments. Total elapsed time: roughly two to three weeks from first prep appointment to final cementation.
Reconstructive/Orthodontic Timeline (6–18 months) Add Invisalign before veneers on misaligned teeth, and you're looking at six to eighteen months of aligner treatment before any cosmetic work even begins. Add a dental implant, and the timeline extends further still. After surgical placement, the implant must undergo osseointegration — the process by which your jawbone fuses directly to the titanium post. Mayo Clinic notes this bone-healing phase takes several months before the final crown can be attached. Rushing it risks implant failure. The biology simply cannot be accelerated.
The key variable is sequencing. Orthodontic movement must stabilize before veneer impressions are taken. Implants must integrate before cosmetic crowns are placed. Each preparatory step acts as a gating event for the next. Patients who understand this enter the process with accurate expectations — and far less frustration.
One of the least-discussed phases of a smile makeover is the temporary restoration phase — and it's arguably the most important feedback window you have.
After your teeth are prepared for veneers or crowns, your dentist places temporary restorations made from PMMA (acrylic) material. These temporaries are worn for seven to fourteen days and serve a purpose beyond simple gap coverage. They are your trial smile.
During this window, you should actively evaluate several things:
According to Cleveland Clinic, veneers are designed to conceal a wide range of imperfections and are custom-made to fit your dental anatomy. That customization depends heavily on the feedback loop between your temporary phase and the dental lab. Dentists who skip this phase — moving directly from prep to final placement — remove your only opportunity to influence the outcome before the porcelain is permanently bonded.
When someone tells you a smile makeover takes "three to four visits," ask what technology the practice uses. That number changes significantly depending on the workflow.
Traditional (Analog) Workflow Your dentist takes physical impressions using putty trays, sends them to an external lab, and waits one to three weeks for restorations to return. You wear temporaries during that waiting period. A single-arch veneer case typically requires a consultation, a prep appointment, a temporary placement, and a final cementation — minimum four visits, often more if adjustments are needed.
Digital Workflow Practices using intraoral scanners capture a precise 3D digital impression in minutes — no trays, no putty. Virtual smile design software lets you preview tooth shape and proportion before any preparation begins. Practices with in-office CAD/CAM milling can fabricate certain restorations, like tooth crowns, the same day. Healthline notes that some dentists now use CAD/CAM technology to design and mill veneers directly in the office, eliminating the external lab wait entirely.
For patients, this means fewer appointments, shorter overall timelines, and a more accurate final result. When evaluating a dental practice for a smile makeover, asking whether they use digital impressions and whether they have in-office milling capability is a legitimate screening question — not an unreasonable one.
Regardless of timeline, a smile makeover follows a consistent clinical structure. Cleveland Clinic's cosmetic dentistry overview describes how procedures like whitening, bonding, and veneers work together to bring balance and symmetry to your smile — and that coordination is exactly what a makeover requires.
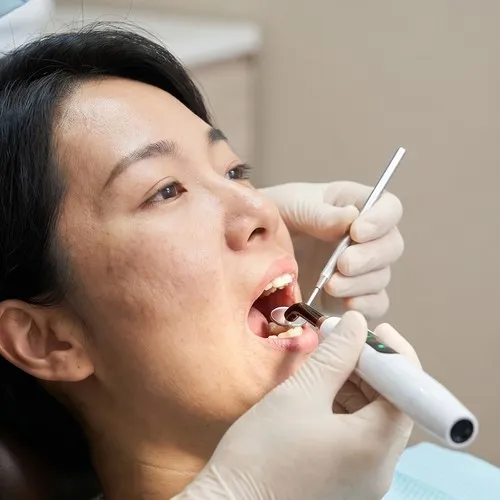
Step 1 — Comprehensive Evaluation Your dentist examines your teeth, gums, and bite. Any active decay or gum disease must be resolved before cosmetic work begins. This step determines whether your makeover is restorative-only or requires preparatory treatment.
Step 2 — Treatment Planning Your dentist maps out the sequence of procedures. Pro teeth whitening is typically done first since it establishes the shade target for any restorations. Orthodontic treatment, if needed, follows. Implants are placed before crowns are fabricated.
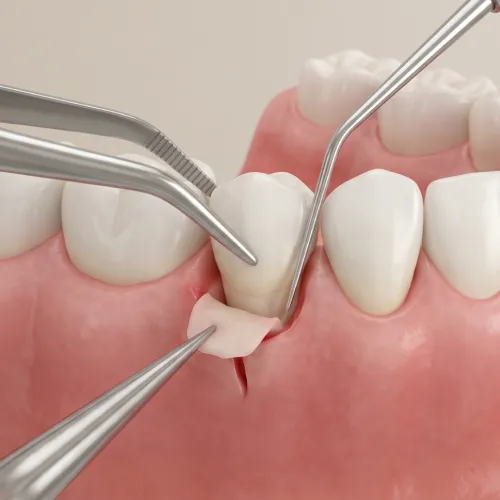
Step 3 — Preparatory Procedures This phase covers anything that must happen before cosmetic work: whitening, aligner therapy, implant placement and healing, or gum contouring.
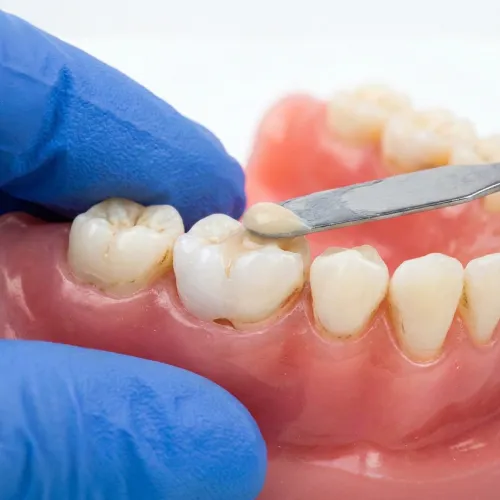
Step 4 — Restorative and Cosmetic Procedures Veneers, crowns, bonding, or implant crowns are placed. The trial smile phase occurs here. Mouthhealthy.org describes dental bonding as one of the most accessible entry points — often completable in a single visit — while veneers and implant crowns require multiple appointments.
Step 5 — Final Adjustments and Maintenance Bite adjustments, polishing, and a review of long-term care expectations complete the process. Results vary by procedure: whitening lasts months to a few years, while implants and porcelain veneers can last well over a decade with proper care.
Every smile makeover timeline is different — and the only way to know yours is to have a dentist evaluate your specific teeth, bite, and goals. Prestige Dental serves patients throughout Kissimmee and Central Florida with comprehensive aesthetic dentistry and restorative care. Schedule a consultation to get a clear picture of what your process would actually look like — from first appointment to final smile.
This article is for informational purposes only and does not constitute dental or medical advice. Consult a licensed dental professional for diagnosis and personalized treatment recommendations.

Mon - Thur 9am-5pm
Wed Closed
Tue - Fri 9am-5pm
Sat - Sun Closed
312 W. Bass St.
Kissimmee, FL 34741
Local Dentist in Kissimmee, FL


